Top Tips for Teaching Online with Video
Nearly all of us have had to teach online in the last year… and many of us may have needed to make videos for our classes for the first time. In this month’s blog post, David Dodgson, shares his top tips for improving the quality of your online video teaching.
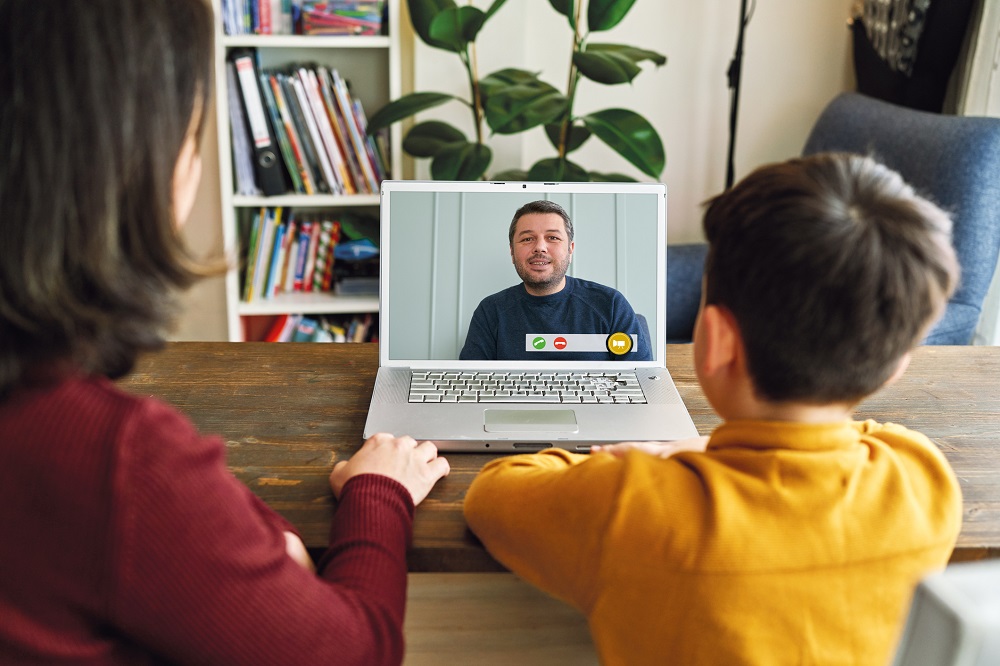
Whether it’s a live session through Teams or Zoom or pre-recorded video to accompany an asynchronous lesson, odds are you have delivered some content to your students online in the last 12 months. While the initial period last spring was very much a ‘do what you can’ scenario, we have had to adapt to this kind of teaching and lesson delivery as a more common feature of our learning programmes.
Even in places where life and learning has returned to classrooms, there has still been a shift towards online components with some schools operating a ‘blended learning’ mix of remote and face to face instruction.
As we now move into a time where having a remote component to our courses may be more of a regular occurrence than an emergency measure, it seemed a good time to share some tips I’ve picked up for using video (live and asynchronously) most effectively as part of your English language courses.
1. Pre-record some content
Online learning can present many challenges – live lessons are a great way to maintain real-time connections with students but can be tiring; asynchronous sessions can promote independent learning but lack the immediacy of a lesson. One method I used to alleviate the pressure of being ‘live’, and also to reduce the communication gap caused by setting self-study tasks was to pre-record some short videos.
So, let’s say my students are going to do an article writing task for an offline lesson and I feel they need a review of the key features of the article beforehand. Rather than schedule a live call that students might arrive late to and therefore may overrun (and would defeat the point of having an asynchronous learning session in the first place), I create a 3–4-minute video reviewing the format and linguistic features of an article and explaining the task at hand. My students can watch this in their own time, more than once if they wish, or not at all if they feel confident enough to tackle the activity. It also provides a useful reference point for feedback later on.
Making your own video is not as complicated as it sounds either. Programmes like Loom and Screencast-o-matic allow you to easily create video content using PowerPoint slides or any other software. If you want to try something more advanced, OBS (Open Broadcasting Software) also allows for easy video creation (free tutorials for all of these are readily available online).
After a little practice, you can easily make videos to introduce topics, give task overviews, or provide class feedback.
These can be used for live sessions too! Send students a link ahead of the lesson as a review and field their questions or responses at the start of the live session – a great way to get people engaged while you wait for everyone to log in and get their mics working.
Finally, if you live in a busy household as I do, don’t forget pre-recording content can be done at a time when the house is quiet and a lesson is less likely to be interrupted by, say, a supermarket home delivery!
2. Improve your audio quality
To make better video content (and also to improve the student experience of your live sessions), the first thing to focus on is audio quality. Ask any YouTuber whether they create videos for education, entertainment, or as a hobby and they will all tell you that audio should be your priority. Poor audio quality will put viewers off quicker than anything else.
This is especially true for language learners. Any distortion of sound, echo, background noise, or (my pet peeve) excessively loud breathing sounds will cause them to throw up that affective filter and think “I can’t hear this clearly; I don’t understand the lesson!”
Nobody is expecting a teacher working from home to invest in an expensive audio set-up of course – we are teaching after all, not creating a podcast! However, a few tweaks can help:
- Choose a room with minimal echo. When at home, go for a small room with carpets, soft furnishings, and curtains – all of these things will help reduce echo. A large room with hard floors and not much furniture will make you sound like you are in an airport terminal!
- Be wary of background noise. This is a difficult one if other people are working from home and/or there are children around but picking a spot where such noises are kept to minimum will help reduce distractions all round. At first, I was teaching from my living room but being close to the front window meant traffic noise was picked up easily. Moving my workstation to the other side of the room made a huge difference for my students.
- Be close (but not too close) to your microphone. If you sit too far back, your voice will be harder to pick out against any background noise (which you can never fully eliminate). Sit too close and your voice will get distorted.
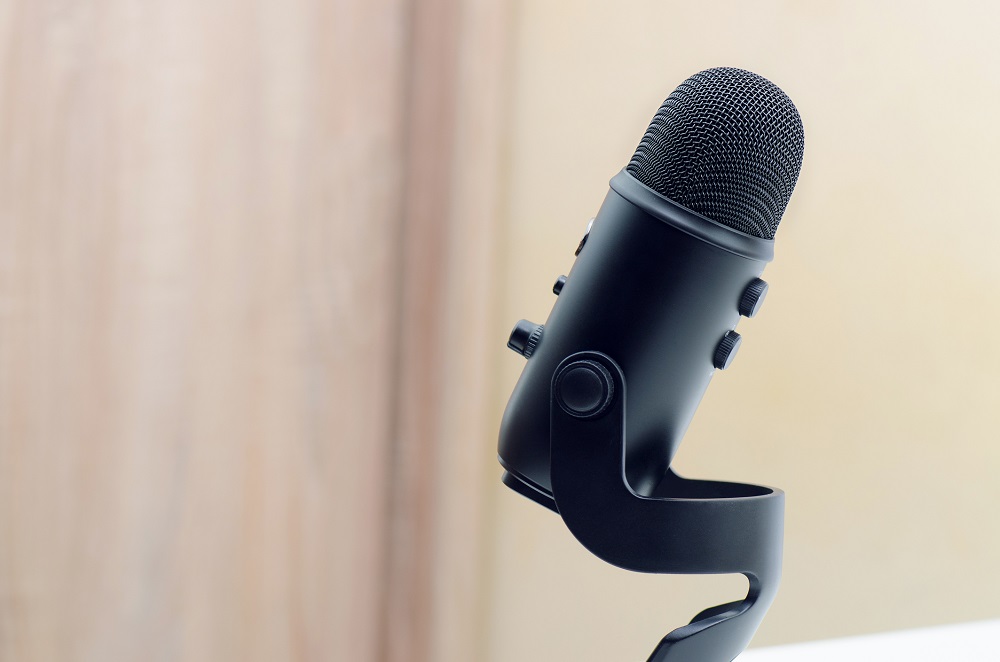
- Buy a standalone microphone. Integrated microphones in laptops never give great sound quality. A headset with a microphone can be better, but if you are going to purchase one accessory for teaching from home, make it a USB microphone. You can pick these up for about £20/$30 and they will improve your sound quality incredibly. Your students will thank you for it.
3. Optimise your lighting
This is the next stage after taking care of audio – make some tweaks to improve the video side of things. It will help your students both in terms of processing language and feeling more connected if they can see your face. Similar to audio, making some small changes can improve their experience immensely:
- Avoid backlight! If you sit near a window or with the room’s light behind you, you will appear as a silhouette on screen. Make sure you are positioned so that light source is in front of you.
- If you can’t easily change your position, use a desk lamp to illuminate your face (but not pointed directly into your eyes of course!) This can cancel out backlight and is useful if you are in a room where the light conditions change depending on the time of day.
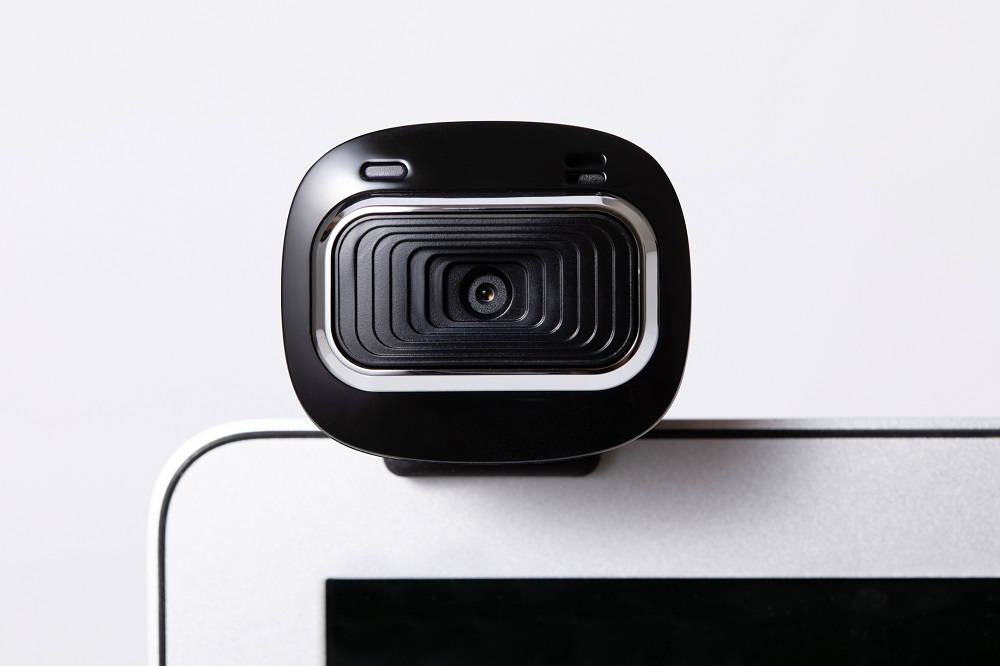
- Consider using a standalone webcam. As with the microphone, any built-in webcam will be of limited quality but a USB one can enhance the resolution and quality of your video (and may solve some lighting issues as well!)
Once you have made the above tweaks, you will find that blurring your background or using a fake backdrop on Teams/Zoom works better as well!
4. Script content
Having focused on the technical side, here are two final tips for improving the quality of your content. First of all:
- Work from a script! If you are pre-recording content, spend a little time planning exactly what you want to say, then include any directions you need, such as [Go to next slide]. Do a practise run before you start recording. Do another practise run while recording (and play it back so you can identify parts you could do better). This way, when you record for real, you can deliver a clear message targeted to your students’ level.
- Follow the same for live lessons – it can be easy to ramble when teaching online whether it is from uncertainties caused by the technology or unfamiliarity with online teaching (in lessons I have observed, teachers seem even more worried by silence than in the classroom). Scripting the part of the lesson where you give instructions or explanations (and perhaps rehearsing it as well) will help with clearer explanations.

And last but not least:
- Use your voice. A lot of teachers can come across as more hesitant and unsure online. Perhaps we are more self-conscious or focusing on so many technical things that we sound less engaging than we might in class. Maybe it is the lack of direct face-to-face contact. Whatever the reason, try to make an effort to sound lively and welcoming. Students struggle with online learning and being away from the classroom as much as, if not more than, we do. Putting some extra energy and enthusiasm into your voice (much like a TV host or YouTuber would) will help engage the students that little bit more.
- Watch a few online lessons from others or some clips from YouTubers and pick out the style or techniques you like and then integrate them into your next recording.
What tips do you have form your own online teaching or learning experiences? Whether technical tweaks or content improvements, please do share them in the comments or on our social media channels.
What tips do you have form your own online teaching or learning experiences? Whether technical tweaks or content improvements, please do share them in the comments or on our social media channels.

Comments
Write a Comment
Comment Submitted